Last Updated on November 1, 2023
Golf is an exciting sport, but it can be intimidating to take on the challenge of removing golf spikes. It’s important to understand what type of spike you have and the right tools for removal before attempting this task. With our comprehensive guide, we’ll ensure that learning how to remove golf spikes is a breeze. No need to fret if you’re uncertain how to get rid of those pesky spikes – we’ve got the necessary advice and guidance for success.
Table of Contents:
- Understanding the Basics of Golf Spikes
- Tools Needed to Remove Golf Spikes
- Step-by-Step Guide to Removing Golf Spikes
- Replacing Your Golf Spikes
- Conclusion
Understanding the Basics of Golf Spikes
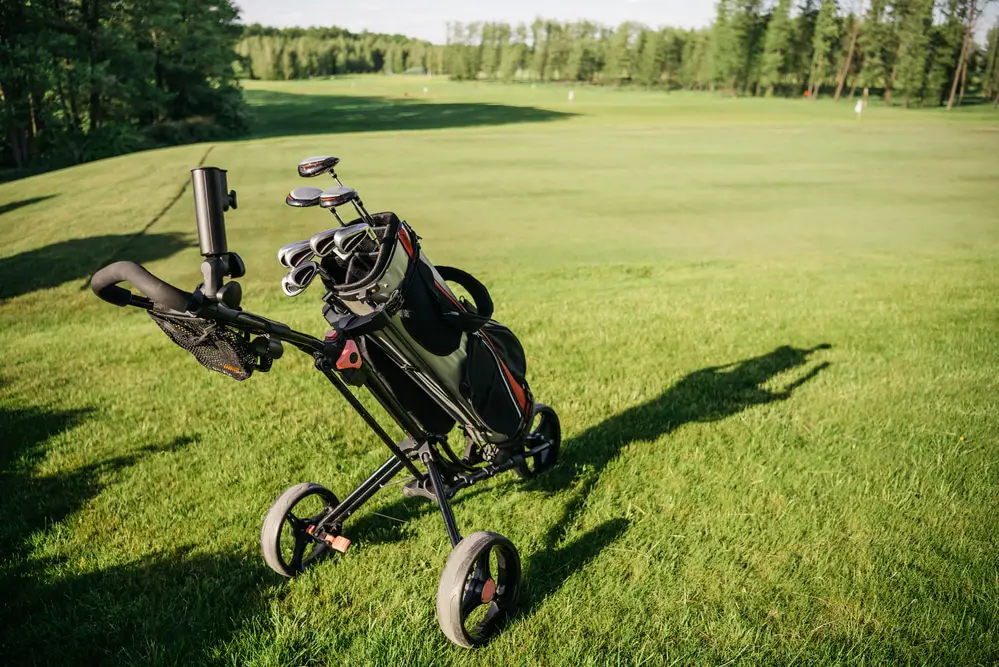
Golf spikes are essential for optimizing one’s performance, and having an understanding of them is critical. Spikes provide traction and stability when you swing, helping you maintain a balanced stance and keep your feet firmly planted on the ground during each shot. They also help reduce fatigue by providing cushioning for your feet while walking around the course.
Golf spikes are an important part of the game, and understanding their basics is essential to playing your best. Now that you have a basic grasp on golf spikes let’s move on to the tools needed for removal.
Tools Needed to Remove Golf Spikes
When it comes to removing golf spikes, having the right tools is essential. Without them, you could damage your shoes and risk injury. Here are some of the most common items you’ll need:
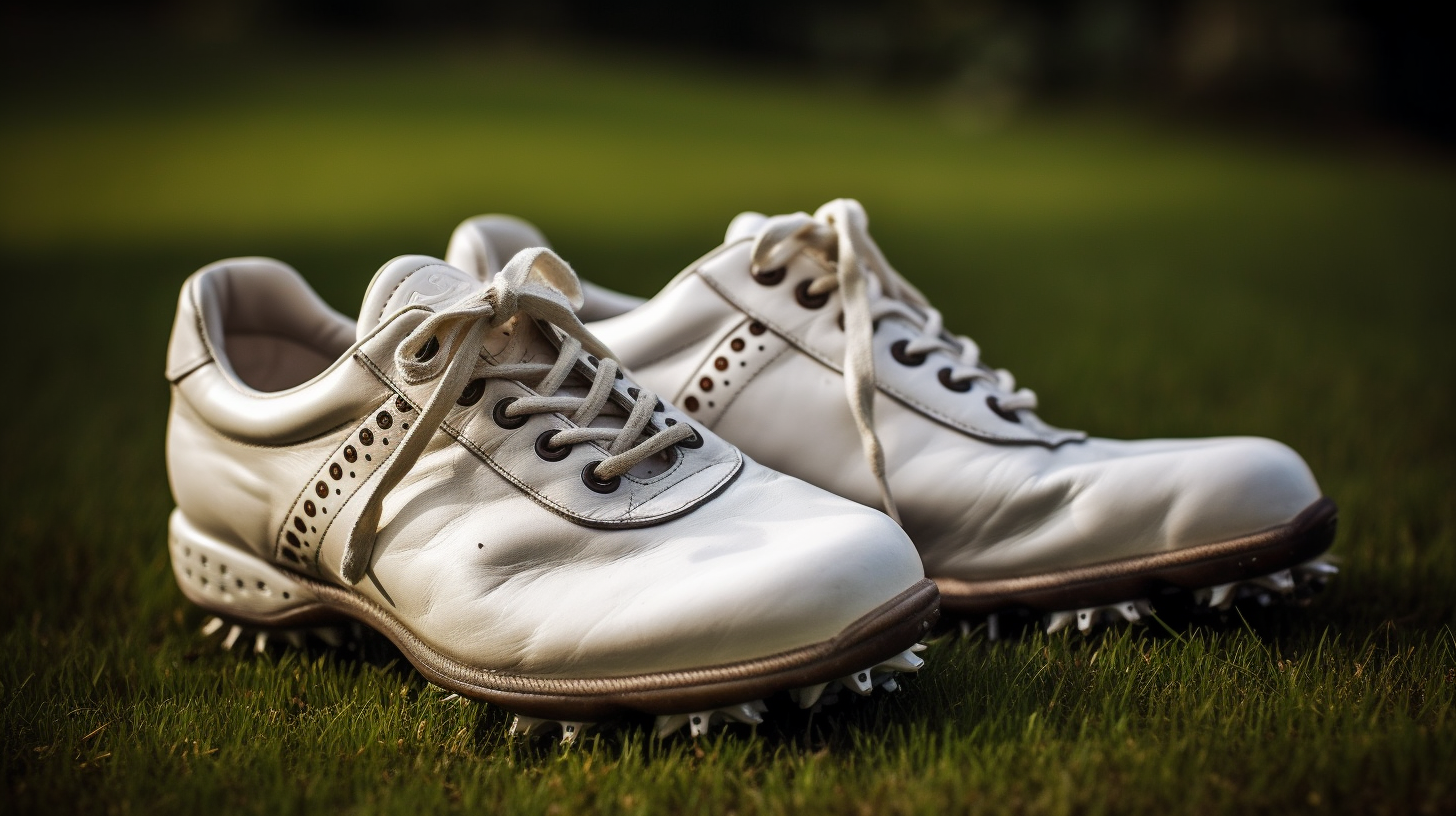
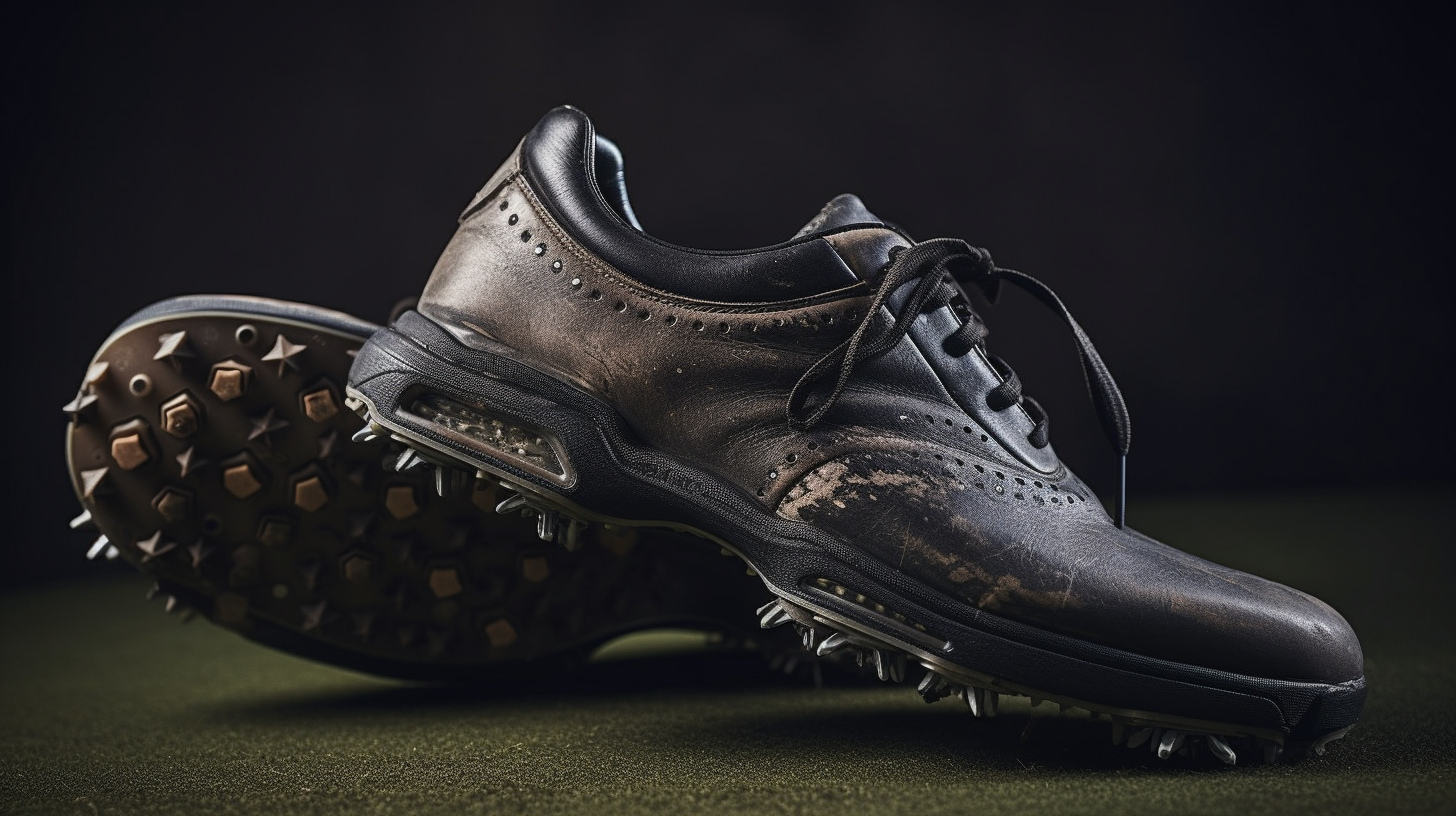
1. Spike Wrench – This is a specialized tool designed for safely removing and replacing spikes on golf shoes. It usually has a “T” shape with two ends that fit into different sized holes in the shoe sole. The device, crafted from either metal or plastic, includes directions for its operation.
2. Screwdriver – If your spikes have screws instead of pins, then you’ll need an appropriate screwdriver to remove them safely without damaging either the spike or the shoe itself. Make sure to get one that fits snugly into the head of each screw so as not to strip any threads when turning it outwards from its hole in the sole of your shoe
3. Pliers – A pair of pliers may also be necessary if there are stubborn pins or screws that just won’t budge, no matter how hard you try using a wrench or screwdriver alone. They can provide extra leverage and help loosen even those stuck-on pieces more easily than other methods would allow for less time spent struggling with them in frustration.
In certain scenarios, a hammer may be required to supply the extra power needed for freeing those particularly tough pins or screws that are seemingly immovable no matter how hard you try. Tap lightly around each piece until they become loose enough for removal with pliers; however, be sure not to hit too hard, as this could cause something else entirely to crack open. Handle these instruments cautiously and prudently to finish the task without any difficulties.
Finally, always remember to wear gloves when handling anything related to golf spikes since sharp edges can cause cuts and scrapes if handled improperly during removal or replacement processes. Better to take precautions than suffer the consequences. Not only will this protect your hands, but it also prevent dirt from getting inside where it does not belong, thus helping maintain optimal performance levels while playing rounds out on the course later down the line.
Step-by-Step Guide to Removing Golf Spikes
Removing golf spikes from your shoes can be a tricky process, but with the right tools and know-how it’s an easy job. Before you begin, make sure to have the following items on hand: a spike wrench, replacement spikes, and a soft cloth.
First off, use your spike wrench to loosen each of the existing spikes. Start by turning counterclockwise until they are loose enough to pull out with your fingers. Be careful not to strip or break any of them while doing this, as it will affect their ability to hold in place when replaced. Once all of the old spikes are removed, set them aside for later disposal or recycling.
Next up is cleaning out the holes where the new spikes will go in order for them to fit properly and stay secure during play. Use a soft cloth dampened with water and gently wipe away any dirt or debris that may have accumulated over time around each hole before moving on to inserting new ones. This step is important because if there is too much build-up then it could cause problems down the line, such as slipping or popping out during game play which would obviously not be ideal.
Replacing Your Golf Spikes
Once all of your old spikes have been removed, take some time to inspect each hole where they were located for any debris or dirt that might prevent the proper installation of new ones later on down the line. If there is any debris present, use a small brush, such as an old toothbrush dipped in warm water and mild soap solution, to gently clean them out before moving on to replacing them with new ones.
When installing new golf spikes into place, make sure that they fit snugly into each hole without being overly tight. If necessary, use lubricants such as petroleum jelly around their edges prior to insertion which will help ensure easy installation while also preventing rusting over time due to moisture buildup inside each hole afterwards. Finally, twist clockwise using either pliers or Spike Wrench until fully secured in place; repeat this same procedure for every remaining spike on both shoes before heading back out onto the course again.
Conclusion
Golfing necessitates being familiar with how to swap out and put in spikes, as they are a vital element of the game. By following these instructions, you can swiftly and simply take off your old golf spikes and put in new ones with no difficulty. With a little practice, removing or replacing golf spikes can become second nature – allowing you to enjoy your time on the course without worrying about worn-out shoes.