Last Updated on November 21, 2023
Changing golf grips without a vise doesn’t have to be difficult. It’s an easy process that anyone can do with a few simple tools and some patience. This guide will show you how to change your golf club grip quickly and safely, so you can get back on the course in no time!
Gather Tools And Materials
When it comes to changing golf grips without a vise, the first thing one must do is gather all of the necessary tools and materials. One should choose their tools according to the grip type they are looking for. If you want to put on an oversize or undersize grip, then special pliers may be needed. It’s also important to pay attention to sizes when selecting your new grip – there can be differences in circumference between various types and brands that could affect performance.
It’s also essential to have some sort of adhesive available – either solvent-based or spray adhesive will work fine. A small razor blade can be used as well, allowing for precision cutting when removing old tape from clubs. You’ll also need cleaning agents like rubbing alcohol or acetone for degreasing the shaft before applying the new grip. Finally, having a cloth rag at hand is useful too, for wiping off excess dirt and debris during installation.
Remove Old Grips
First things first: selecting the grips that suit you best. There are many different types of grips to choose from – rubber, corded or hybrid – so make sure you select one which fits comfortably into your hand and helps improve your game. Be mindful when choosing too; some people might prefer bigger grips for added control, whilst others might like smaller ones for extra feel.
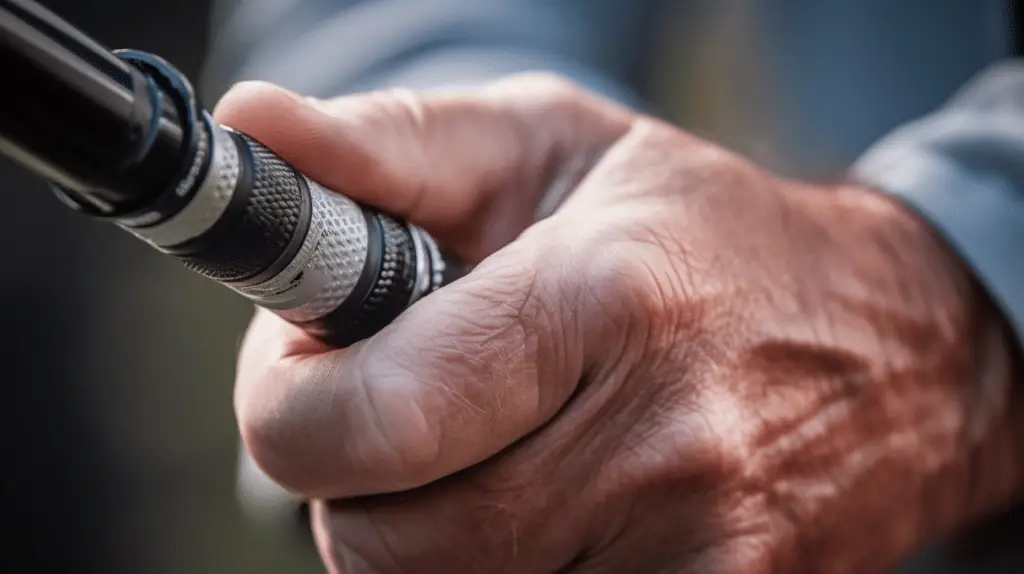
Once you have chosen the perfect grip for you then comes the installation process. To begin with, remove any old tape from around the shaft before soaking the end of your golf club in warm water for about five minutes – this makes removing old grips much easier by softening them up slightly. Then use an old knife or blade to slide underneath each grip and slowly peel them off until they’re completely removed from the shafts of your clubs. Finally, take some sandpaper (or something similar) to smooth down any remaining residue left over on the shaft’s surface before applying double sided tape where necessary and sliding on your new grips using plenty of grip solvent to help secure them firmly in place.
And there we have it; now all that remains is taking out onto course and seeing if these changes have helped improve our game!
Clean The Shaft
Having removed the old grips, it’s now time to clean the shaft. To do this, you’ll need some emery paper – a type of sandpaper that is suitable for metal. Start by waxing the shaft with a good quality golf club wax and then using your emery paper to gently rub down the area where you intend to place your new grip. This will ensure that any rust or other residue has been removed so that the new grip will fit snugly in place.
For a more thorough cleaning job, use an angle grinder fitted with a wire brush attachment to buff away stubborn dirt or deposits on the surface of the shaft. Once complete, take a cloth dampened with warm water and wipe down the entire length of the shaft to remove all traces of dust and debris before drying off with another cloth.
Finally, if you’re installing heat shrink grips onto your clubs, make sure they are heated evenly from end-to-end until they have shrunk tightly around the shafts – otherwise they may not stay secure during play. And there you have it: all set for fitting your brand new grips!

Install Grip Tape
Right, so now it’s time to install the grip tape. Firstly, let’s talk about what size of grips you should use. This depends on your hand size and preferences, but generally a standard-sized grip will be suitable for most golfers. It’s also worth considering waterproofing tips; if you’re playing in wet conditions then it might be worth investing in some extra water-resistant tape before installing the grip.
The next step is to align the grip properly with the shaft of your club. The best way to do this is by using a ruler or similar object as a guide – simply line up one end of the ruler with the bottom edge of the shaft and make sure that all points along its length are parallel with the grip itself. You can mark out where each side needs to go and then proceed accordingly when applying pressure during installation.
When everything is lined up correctly and ready to go, wrap your fingers around either side of the grip (this helps hold it steady) and begin pressing down firmly from top to bottom until it’s securely attached to your club. Make sure not to leave any gaps or air pockets between yourself and the handle! With these steps complete, you’ll have successfully changed your golf grips without a vise.
Apply Grip Solvent
Having installed the grip tape, it is time to apply a grip solvent. This process requires certain cleaning preparations and ventilation safety before beginning.
Prepare by thoroughly cleaning any remaining residue from previous tape and solvents with a cloth rag dipped in warm soapy water. It is important to ensure adequate ventilation while applying solvent as this may cause irritation when inhaled directly into the lungs. Wearing gloves also helps protect hands from potential skin irritations caused by contact with chemicals in these products.
Once all necessary precautions have been taken, begin applying the chosen solvent using a brush or roller according to instructions provided by manufacturer guidelines. Allow sufficient drying time before moving onto another step of installing new golf grips without vise.
Install The New Grip
Right, now for the exciting part – installing your new grip! But before you get started, there are a few things to consider. Firstly, be sure to select an appropriate grip size and orientation that suits you best. The right choice is essential in ensuring your comfort while playing golf.
Now it’s time to begin installation. You’ll need some items such as rubbing alcohol or specialized enzyme cleaner, double-sided tape, solvent (if needed), and of course your chosen replacement grip. Start by using the cleaning solution on both sides of the club shaft where you will apply the tape; this removes dirt and oils from the surface so they don’t interfere with adhesion. When dry, wrap two layers of double-sided tape around the area evenly spaced apart – make sure not to overlap them when laying down each piece.
The next step is applying the replacement grip itself onto the club shaft until it’s firmly secured in place. A solvent can help here if you’re having trouble getting it on properly – just remember to follow package instructions closely when using one! With a bit of patience and practice, you should soon have a newly gripped club ready for action!
Frequently Asked Questions
Is It Necessary To Use Grip Solvent When Changing My Grips?
When selecting and changing your golf grip, it is important to consider whether or not you will need a vise. Although some people may opt for a vise when installing grips on their clubs, it isn’t necessarily necessary. In many cases, all that’s needed is a little grip solvent to ensure the best installation and maintenance of your chosen grip. The use of solvent can help make sure that the new grip won’t slip during play, increasing its lifespan and enhancing performance overall.
What Is The Best Way To Clean The Shaft Before Installing New Grips?
When changing golf grips, it is important to properly clean the shaft before installing new ones. The best way to do this is by using a light solvent such as acetone or rubbing alcohol and wiping down the shaft with a soft cloth. Proper technique is also key when selecting the right grip for your clubs; special tools may be required depending on what type of grip you choose. Ultimately, cleaning and prepping your clubs carefully will ensure a successful installation of new golf grips.
Conclusion
It’s important to ensure that you’re using the correct type of grip tape when changing your golf grips. There are several different types of golf grips available, so make sure you choose one that best suits your game and style. Additionally, it is advisable to use some form of grip solvent when replacing old grips with new ones as this helps keep them in place for longer. Before installing a new grip, be sure to clean the shaft thoroughly too. Finally, it’s worth remembering that regular replacement of your golf grips will help improve your performance on the course – so don’t forget to do this at least once or twice per year! Thanks for reading – happy golfing!